
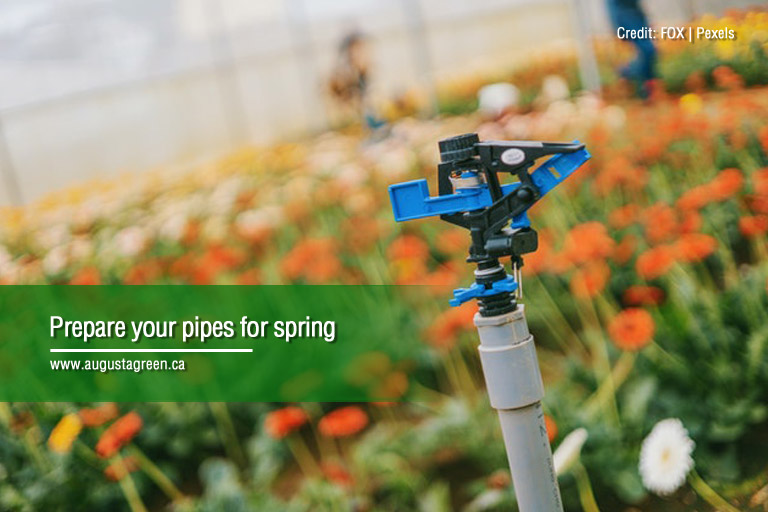
Spring is the most awaited season of the year for most garden enthusiasts. It’s the time when lawns and gardens come alive with colours, as trees, flowers, and grass achieve full bloom. To set this growth into motion, adequate sunshine and water are needed. Preparing your sprinkler system for the spring thaw can ensure that your plants get the water they need while protecting your pipes and sprinkler heads from damage.
Lawns and gardens that don’t get sufficient irrigation from Mother Nature need human intervention. Homeowners can use a hose or watering can to provide plants with the water they need to be able to thrive in spring. Automated underground sprinkler systems are also a convenient tool to keep gardens healthy.
Homeowners need to learn the basics of seasonal sprinkler maintenance. While it’s important to winterize a sprinkler system, starting up sprinklers in the spring properly is just as important. The latter may take at least 2 hours (or more), depending on the size of your property, the condition of your system, and the number of sprinkler heads you have.
How to De-Winterize Your Sprinkler System
If you’re new to sprinkler system maintenance in spring, here are the steps in de-winterizing your sprinklers:
1. Check your lawn for freezes.
Prior to de-winterizing your sprinklers, check your lawn for frozen soil. Get a shovel and in a hidden part of your lawn, dig at least one foot into the soil. If you hit frozen ground, it means it’s still too soon and you should wait for about 2 weeks before performing another dig test.
Starting up your sprinkler system in spring when the ground is still frozen can damage your water lines. If you must water your plants, use a water hose instead while waiting for the soil to thaw.
2. Switch on your control panel.
The de-winterization process begins at the center of your sprinkler system, particularly the main irrigation control panel. Often, the control panel is installed outdoors and you might need to clear out dirt before you can access it.
When turning on the control panel, check the current settings and adjust the time, date, and irrigation zones. Replace the batteries if they’re at least 6 months old. Not all control panels are the same, so you may need to find a copy of your system’s original documentation online. To do this, search for the model number of your panel.
3. Inspect and clean your sprinkler heads.
Of all the steps, cleaning the sprinkler heads takes up the most time, as you will need to inspect and clean individual sprinkler heads and valves. And the bigger your lawn or garden is, the more time you will need to complete this.
Here are the steps to accomplish at each sprinkler head:
Check the sprinkler head assembly for possible damage. Inspect the nozzle for damage. If so, unscrew the nozzle from the head and get a replacement at your local lawn shop. If the entire head assembly is damaged, consider outsourcing the repair job to an irrigation professional. This is a bigger project that’s best left to experts.
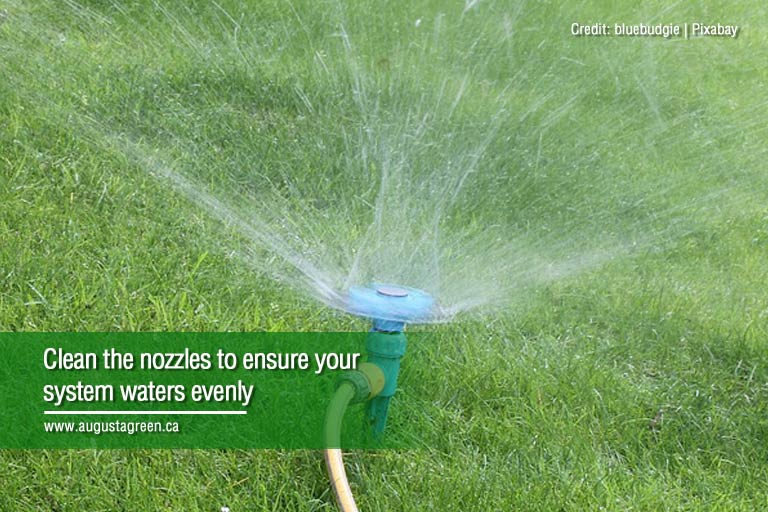
Clean the nozzles. You can use an old toothbrush to clean each nozzle thoroughly. Make sure to remove any obstruction which can affect a nozzle’s spray pattern. Wrong patterns may result in uneven watering where some areas can get too much water while others get too little.
Close the sprinkler valve. Ensure the sprinkler valve is closed unless it’s the one farthest from the main water supply. You need to leave the farthest valve open and the sprinkler nozzle removed to let the air escape when you switch on the water. If your system has more than one branch getting supply off a mainline, open the valve and remove the nozzle of the last sprinkler on every branch line.
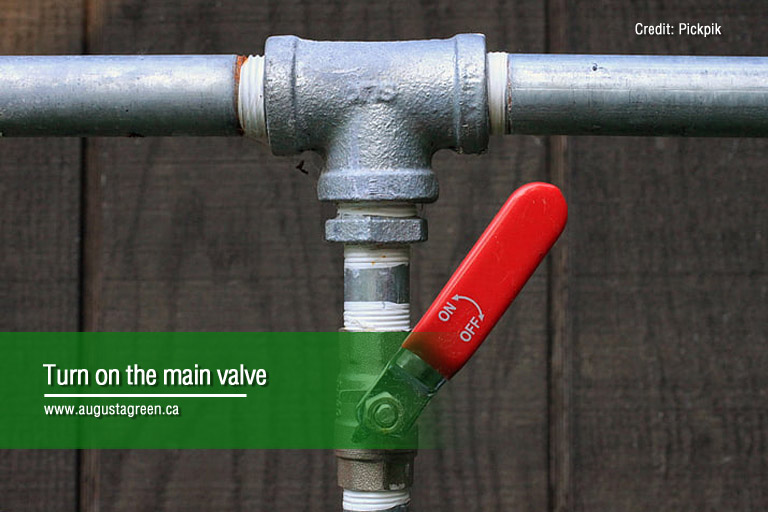
4. Open the main valve.
Slowly, open the main water valve. When done quickly, you might send a surge of air and water through the system. You’ll want to avoid this to prevent a “water hammer.” This rush of pressure can cause the pipes to crack, the valves to break, or send sprinkler heads flying into the air.
Open the main valve until you can hear the water flowing. Wait for a few moments as the water reaches the mainline. Then open the valve a few degrees wider after every minute until it is completely open.
Some systems may have branch lines that source water from the mainline. These systems may have another valve where each branch line meets the mainline. Once the mainline is completely filled, still in a slow and steady manner, repeat the process at the main valve of every branch line.
After opening all the valves, check the faraway sprinkler valves that were left open earlier. Removing the sprinkler heads makes it possible to flush out dirt and debris that were trapped in the line. Once the water is clear, close the valve and attach the nozzle back in place.
5. Inspect your irrigation zones.
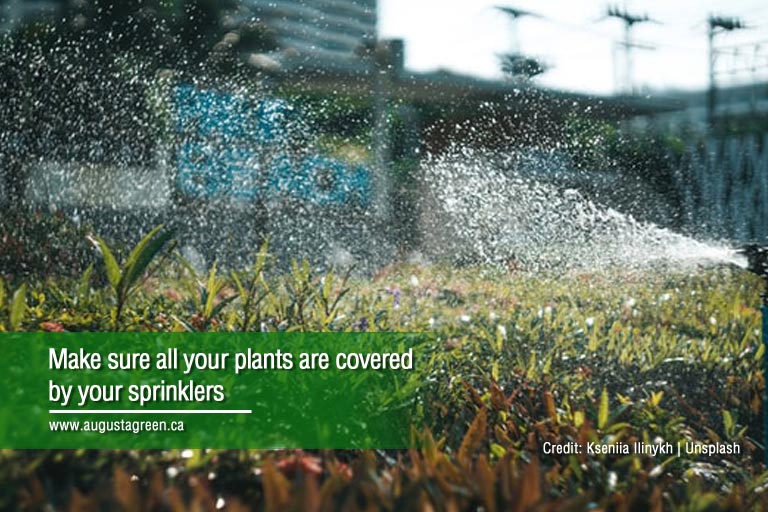
Your sprinklers are now ready for spring watering. If you haven’t made any big changes to your system or landscaping in the past months, you no longer need to adjust your sprinkler nozzles. Try to test the irrigation of every zone (one at a time) to make sure they’re spraying as they should, in the correct pattern.
Should any of the nozzles need adjusting, note all the changes you need to make in the zone concerned before switching off the sprinklers. Only make adjustments when the sprinklers are off so you won’t have to make trips back and forth.
Each nozzle bears a marking that indicates their spray pattern. Adjust a nozzle by unscrewing the ring that keeps it in its position and lift it off the head assembly. Then reinsert the nozzle with the markings pointing in the right direction. Screw the ring back once you’re finished.
When in Doubt, Call The Professionals

De-winterizing a sprinkler system in spring can be a tricky job to some homeowners. If you don’t know how to get started, it would be best to contact an irrigation professional for expert spring turn-on and maintenance service. Get back to watering your lawn by setting up an appointment with them.
During the inspection, your technician can help you with the following sprinkler system tuning jobs:
- Ensure that the backflow preventer is properly installed and closed
- Ensure that the valves are closed off
- Find your irrigation’s main water shut-off
- Make sure water is not leaking anywhere in your system
- Fully open backflow device
- Make sure the sprinkler head is working well
- Put the system controller in automatic mode
- Slowly and steadily switch on the main irrigation supply
- Ensure the drain or blow out point is tight
If you’re looking for experts in Toronto who can help you prepare your sprinkler system for the spring, call Augusta Green Sprinklers. We’ve been inspecting and installing sprinkler systems anywhere in Toronto for several years now. Our technicians can also teach first-time homeowners how to install, operate, and manually turn on a sprinkler system. Schedule a FREE consultation today! Call us at (416) 227-1666. You may also book an appointment online through this form.